Best Way to Clean Kitchen Faucet Like a Pro
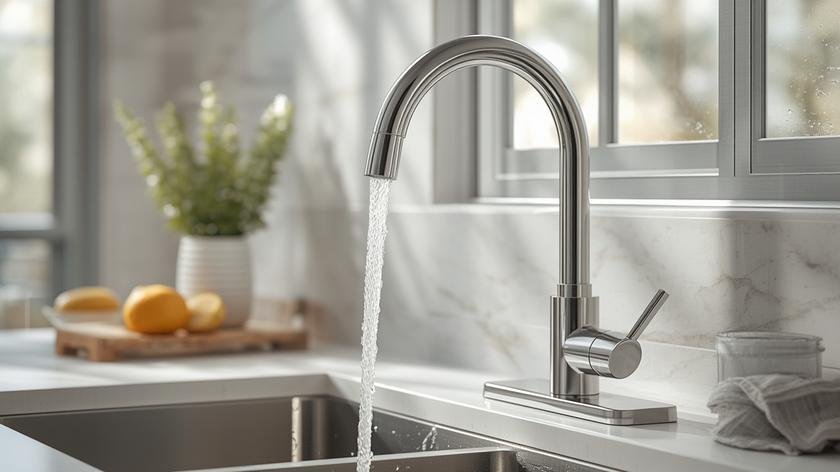
When it comes to maintaining a sparkling home environment, the detail that often makes the biggest impression is a spotless sink area. A grimy faucet can undermine an otherwise immaculate kitchen, and many homeowners wonder how to achieve the best way to clean kitchen faucet without resorting to harsh chemicals or excessive effort. Understanding the materials involved and the proper technique ensures you preserve both the finish and the functionality of the fixture.
Thank you for reading this post, don't forget to subscribe!In this guide we’ll explore proven methods, essential tools, and preventive habits that together form the most reliable approach to best way to clean kitchen faucet. Whether you’re dealing with hard water stains, soap scum, or everyday grime, the steps outlined here will help you restore shine and extend the lifespan of your faucet.
## Table of Contents
– Understanding Faucet Materials
– Essential Tools and Supplies
– Step-by-Step Cleaning Process
– Preventive Maintenance Tips
– Comparison of Cleaning Products
– FAQ
– Conclusion and Final Takeaways
Understanding Faucet Materials
Faucets are crafted from a limited palette of metals—primarily brass, chrome, stainless steel, and sometimes bronze or nickel finishes. Each material reacts differently to cleaning agents:
* **Brass**: Naturally resistant to corrosion but prone to tarnish if exposed to acidic cleaners.
* **Chrome**: Offers a high-gloss surface that can be scratched by abrasive pads; gentle cleaners are essential.
* **Stainless steel**: Durable yet can develop water spots if not dried promptly.
* **Bronze/Nickel**: Often feature a matte patina that can be dulled by harsh chemicals.
Knowing what your faucet is made of guides you toward a method that removes grime while protecting the finish. For instance, a vinegar‑based solution works well on chrome but should be avoided on polished brass unless thoroughly rinsed. The goal is to balance effectiveness with gentleness—this knowledge underpins the best way to clean kitchen faucet for any household.
Essential Tools and Supplies
Before you start, gather a concise kit that covers all cleaning stages. Over‑stocking with specialty products often leads to unnecessary expense and potential damage.
* **Microfiber cloths** – trap particles without scratching surfaces.
* **Soft‑bristle brush** – reach crevices around the aerator and spout.
* **Non‑abrasive sponge** – ideal for daily wiping.
* **Mild dish soap** – a neutral base that cuts grease without etching metal.
* **White vinegar** – natural descaler for mineral buildup.
* **Baking soda** – gentle alkaline powder for stubborn stains.
* **Rubber gloves** – protect skin from prolonged exposure to cleaning solutions.
These items form a practical, budget‑friendly arsenal. Notice that no single product dominates; a combination of mild detergent and diluted vinegar typically delivers the cleanest results. By adhering to these basics, you lay the groundwork for effective kitchen faucet cleaning without the need for commercial cleaners.
Step-by-Step Cleaning Process
The following procedure works on all common faucet finishes. Each step builds on the previous one, ensuring no residue is left behind.
1. **Prepare the area** – Clear the sink, remove any dish racks, and lay down a towel to catch runoff. This prevents water from slipping onto the countertop and causing streaks.
2. **Rinse with warm water** – Turn the faucet on briefly to flush loose debris. Warm water loosens soap scum, making the next steps more efficient.
3. **Apply a mild soap solution** – Mix a few drops of dish soap with warm water in a bowl. Dampen a microfiber cloth in the mixture, wring out excess, and wipe the entire faucet, focusing on the spout, handles, and base. The soap emulsifies oil and food particles.
4. **Tackle mineral deposits** – For hard‑water spots, soak a clean cloth in a 1:1 solution of white vinegar and water. Wrap the cloth around the faucet and let it sit for 5‑10 minutes. The mild acidity dissolves calcium buildup without harming most finishes.
5. **Scrub the aerator** – Unscrew the aerator (usually a twist‑off component at the tip) using your fingers or a small wrench. Disassemble it and soak the parts in the vinegar solution for another 5 minutes. Use a soft‑brush to clear any debris, then rinse thoroughly before reassembly.
6. **Address stubborn grime** – Create a paste from baking soda and a few drops of water. Apply the paste to any lingering stains, let it sit for 2‑3 minutes, then gently rub with the soft‑brush. Baking soda’s mild abrasiveness lifts grime without scratching.
7. **Final rinse and dry** – Run clean water over the faucet for a few seconds to wash away any residual cleaning agents. Immediately dry the surface with a fresh microfiber cloth to prevent water spots.
8. **Polish (optional)** – For an extra shine, lightly buff the faucet with a dry microfiber cloth. Some users add a drop of olive oil to the cloth for a subtle gleam; however, this is optional and should be avoided on brushed finishes.
By following these steps, you achieve the best way to clean kitchen faucet using items most households already possess. Consistency is key; performing this routine once a month keeps buildup at bay and preserves the faucet’s aesthetic.

Preventive Maintenance Tips
Even the most thorough cleaning won’t help if neglect sets in between sessions. Incorporate these habits into your daily kitchen routine:
* **Wipe down after each use** – A quick swipe with a dry microfiber cloth removes splash water and prevents mineral spots.
* **Use a water softener** – If hard water is prevalent, installing a softener reduces calcium deposits, extending the life of both faucet and appliances.
* **Avoid abrasive tools** – Steel wool or harsh scrubbing pads can micro‑scratch chrome and nickel; always opt for soft materials.
* **Check for leaks** – Regularly inspect the base and connections. A slow leak can cause corrosion that gradually dulls the finish.
* **Replace the aerator annually** – Over time, mineral buildup can clog the aerator, reducing water flow and encouraging grime accumulation.
Embedding these simple practices creates a protective barrier, making each deep‑cleaning session less intensive. For readers looking to explore more specifics, you can learn how to diagnose faucet leaks without professional assistance.
Comparison of Cleaning Products
Below is an evaluation table that contrasts common household cleaners against specialized faucet cleaners. The criteria focus on safety for various finishes, effectiveness against mineral stains, and environmental impact.
| Product Type | Safety for Chrome/Brass | Descaling Power | Eco‑Friendliness | Cost per Use |
|---|---|---|---|---|
| Dish Soap + Warm Water | Excellent | Low | High | ~$0.01 |
| White Vinegar (1:1) | Good (avoid on brass polish) | Medium | High | ~$0.02 |
| Baking Soda Paste | Excellent | Medium | Very High | ~$0.01 |
| Commercial Lime Scale Remover | Poor (may etch) | High | Low | ~$0.15 |
| All‑Purpose Spray (Ammonia‑based) | Fair | Low | Medium | ~$0.08 |
The table demonstrates that basic kitchen staples often outperform pricey commercial formulas, especially when the goal is to preserve the faucet’s finish while maintaining environmental responsibility. Selecting the right product aligns directly with the best way to clean kitchen faucet philosophy: efficacy without compromise.
FAQ
**Q:** Can I use lemon juice instead of vinegar?
**A:** Yes, lemon works similarly but may leave a scent.
**Q:** How often should I clean the aerator?
**A:** Every 3‑4 months, or when water flow slows.
**Q:** Is a toothbrush safe for scrubbing crevices?
**A:** A soft‑bristle toothbrush is ideal and safe.
**Q:** Will bleach damage my faucet?
**A:** Bleach can corrode metal; avoid it.
**Q:** Do I need to disassemble the faucet for a deep clean?
**A:** Only the aerator; full disassembly isn’t required.
**Q:** What temperature water is best for cleaning?
**A:** Warm, not hot, to protect seals and finishes.
Conclusion and Final Takeaways
Achieving a gleaming faucet doesn’t require exotic chemicals or costly services. By understanding material properties, assembling a modest toolkit, and applying the systematic steps outlined above, you embody the best way to clean kitchen faucet. Consistent preventive habits further reduce the need for intensive scrubbing, saving time and preserving the fixture’s appearance.
For a deeper dive into related household upkeep topics, consider exploring the simple tricks for spotless countertops. If you’d like to see how other homeowners approach the same challenge, a quick web search for “Best Way to Clean Kitchen Faucet Like a Pro” can provide additional perspectives: Google Search.
Take the next step today: apply these methods, observe the results, and enjoy a faucet that shines as brightly as your culinary creations.