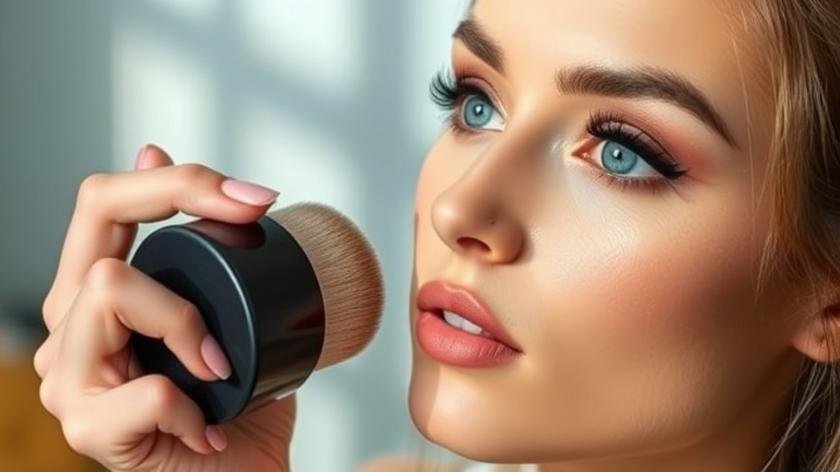
Makeup Application Tips for a Flawless Finish
Achieving a polished, camera‑ready look begins long before the first swipe of foundation. By understanding the science behind skin preparation and the art of product placement, you can master a routine that enhances your natural features while minimizing common pitfalls. This guide gathers proven makeup application tips that blend professional insight with everyday practicality, helping you build confidence in every step of the process.
Thank you for reading this post, don't forget to subscribe!Whether you are a beginner eager to explore basic techniques or a seasoned enthusiast refining your craft, the principles outlined here will serve as a reliable reference. Consistently applying these makeup application tips not only improves finish and longevity but also reduces product waste and skin irritation, laying the groundwork for a healthier beauty routine.
## Table of Contents
– Understanding Your Skin Type
– Preparing the Canvas: Skincare and Primer
– Tools of the Trade: Brushes vs. Sponges
– Step‑by‑Step Application Process
– Mastering the Art of Blending
– Long‑Lasting Finish: Setting Techniques
– Common Mistakes and How to Fix Them
## Understanding Your Skin Type
Knowing whether your skin is oily, dry, combination, or sensitive dictates the texture, formula, and layering strategy you should adopt. Oily skin often benefits from oil‑free, mattifying foundations and a mattifying primer, while dry skin thrives with hydrating, dewy formulas that contain glycerin or hyaluronic acid. Combination skin requires a balanced approach—use a lightweight base on the T‑zone and richer coverage on drier areas.
In practice, conduct a simple blot test: after cleansing, wait an hour, then press a clean tissue to various zones of your face. The amount of oil transferred reveals your skin’s behavior throughout the day. With this data, you can select products that complement your natural sebum production, preventing premature creasing or flashback.
## Preparing the Canvas: Skincare and Primer
A flawless finish starts with clean, hydrated skin. Begin with a gentle cleanser suited to your skin type, followed by a toner to restore pH balance. Apply a lightweight moisturizer—if you have oily skin, choose a gel‑based formula; for dry skin, a richer cream is appropriate. Allow each layer to absorb fully before moving on; this prevents pilling later.
Primer acts as a microscopic bridge between skin and makeup. Silicone‑based primers fill in pores and fine lines, ideal for a smooth surface, while water‑based primers enhance skin‑care benefits, such as added sun protection or antioxidant support. Choose a primer that addresses your primary concern, whether it’s oil control, pore minimization, or radiance boost.
For deeper insight into skin prep, see this skin preparation guide that expands on product selection and application order.
## Tools of the Trade: Brushes vs. Sponges
The debate between brushes and sponges is a classic one, and the answer often hinges on personal preference and desired finish. Brushes—particularly dense, flat‑top ones—offer precision for concealer and contour work, while fluffy stipple brushes are excellent for applying powder products. Sponges, especially those with a velvety texture, provide a natural, dewy finish and excel at blending liquid or cream foundations seamlessly.
When choosing tools, consider the following:
– **Brushes** maintain product hygiene longer, can be vibrantly layered, and are ideal for sculpting.
– **Sponges** absorb excess product, preventing over‑application, and are best for achieving a skin‑like glow.
Many professionals rotate between both, using a brush for detailed work and a sponge for overall blending. Structured makeup tutorials often demonstrate the subtle differences each tool creates, reinforcing why versatility matters.

## Step‑by‑Step Application Process
A systematic routine minimizes errors and ensures consistency. Follow these stages for a dependable outcome:
1. **Prime** – Apply a pea‑sized amount using gentle tapping motions; allow 30 seconds to set.
2. **Foundation** – Dot product across forehead, cheeks, nose, and chin. Using a damp sponge, blend outward in a stippling motion, or employ a brush for a matte finish.
3. **Concealer** – Target blemishes and under‑eye circles with a small, pointed brush. Pat rather than swipe to preserve coverage.
4. **Powder** – Lightly dust translucent powder with a fluffy brush, focusing on the T‑zone to lock in moisture‑control.
5. **Contour & Highlight** – Apply matte contour shades to hollows of cheeks, jawline, and temples; use a luminous highlighter on high points for dimension.
6. **Blush** – Sweep on the apples of the cheeks, blending upward toward the temples.
7. **Eyes & Lips** – Finish with your chosen eye makeup and lip color, allowing the base to remain undisturbed.
These makeup application tips create a balanced structure that maximizes each product’s performance while maintaining a natural appearance.
## Mastering the Art of Blending
Blending is where technique truly distinguishes a professional finish from a novice attempt. The goal is seamless transitions without harsh lines. Here are three blending principles:
– **Layer Lightly** – Apply thin layers, building intensity gradually; this prevents cakiness.
– **Use the Right Tool** – For cream products, a damp sponge creates a veil‑like effect; for powders, a soft brush diffuses edges.
– **Direction Matters** – Follow the natural contours of the face—upward and outward on the cheeks, downward on the jawline—to lift and sculpt.
A common error is over‑blending, which can mute color payoff. Once the desired look appears, lightly pat the area with a clean brush to set the blended pigments without disturbing the edges.
Explore blending techniques in this blending techniques guide for visual references.
## Long‑Lasting Finish: Setting Techniques
Ensuring your makeup stays vibrant from morning coffee to evening events requires strategic setting. Choose one of the following methods based on your environment:
– **Spray Setting** – A fine mist of setting spray adds a moisture barrier; ideal for humid climates.
– **Powder Lock** – Press translucent powder into the skin with a kabuki brush for matte durability; perfect for oily zones.
– **Layered Setting** – Combine both: spray first, then powder for a balanced, semi‑dewy finish.
For those with dry skin, opt for a hydrating setting spray containing glycerin to prevent a flat look. Conversely, oily skin benefits from a mattifying spray that includes silica.
Final makeup application tips involve setting techniques that match both the product formulation and your skin’s needs, guaranteeing all‑day confidence.
## Common Mistakes and How to Fix Them
Even experienced artists stumble. Recognizing mistakes early saves time and product:
| Mistake | Why It Happens | Quick Fix |
|—|—|—|
| **Cakey Texture** | Applying too much product or skipping moisturizer | Lighten layers; add a hydrating mist and blend with a clean sponge |
| **Patchy Color** | Uneven skin prep or using the wrong brush | Re‑prime the area, use a stipple brush for even distribution |
| **Creasing** | Foundations not set before applying powder | Allow foundation to dry 1–2 minutes, then set with a translucent powder |
| **Flashback in Photos** | Using SPF in foundation or heavy powder | Switch to SPF‑free base or use a matte powder |
By addressing these issues promptly, you maintain a flawless appearance throughout the day.
## Comparison Table: Brush vs. Sponge for Different Looks
| Tool | Advantages | Disadvantages | Ideal Use |
|---|---|---|---|
| Brush (dense) | Precise application; less product absorption | Can create a heavier finish if over‑used | Full‑coverage foundation, contour, detailed work |
| Sponge (damp) | Natural, skin‑like finish; blends seamlessly | Absorbs more product; may require more product | Cream foundations, dewy looks, quick blending |
| Hybrid (brush + sponge) | Combines precision with blendability | Requires more tools and cleaning | Layered looks that need both definition and softness |
## FAQ
**Q1: How often should I clean my brushes?**
A: At least once a week with gentle cleanser.
**Q2: Can I use the same primer for day and night?**
A: Yes, if it matches your finish preference.
**Q3: Should I apply setting spray before or after powder?**
A: After powder for best lock‑in.
**Q4: Is it okay to skip moisturizer on oily skin?**
A: No, hydration prevents over‑production of oil.
**Q5: How can I avoid makeup crease lines?**
A: Allow each layer to set before applying the next.

## Conclusion and Final Takeaways
Integrating these evidence‑based makeup application tips into your daily routine elevates both the visual result and the health of your skin. By starting with proper skin analysis, following a disciplined prep sequence, choosing the right tools, and mastering blending and setting, you create a resilient foundation for any look. Consistency, practice, and an awareness of common pitfalls will transform occasional attempts into reliable, repeatable artistry.
For additional perspective, you may consult a quick search of the article title: Google search. Keep experimenting, stay mindful of your skin’s response, and enjoy the confidence that comes with a polished, lasting finish.